¶ Guide v0.2
¶ RPCS3
1. Open up your RPCS3 custom configuration, go to the “Network” tab, and add the following DNS:
209.38.53.69
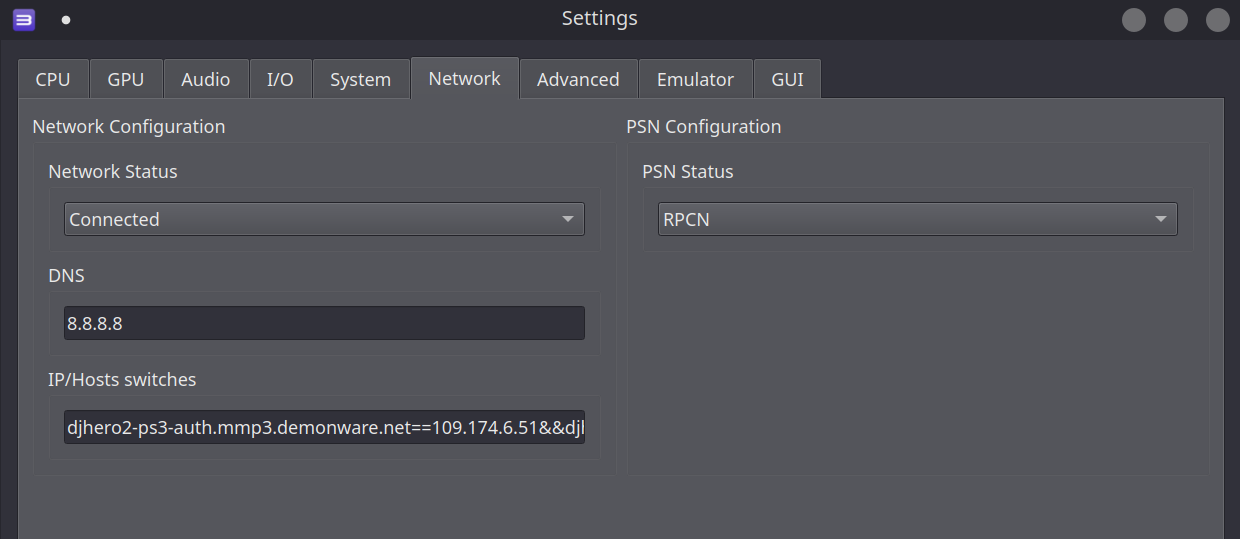
2. Login to RPCN.
3. Launch the game and join multiplayer.
¶ PS3
For PS3 you'll need to properly setup DNS servers. If you already know how to do it, here are the required addresses:
Primary DNS: 209.38.53.69
Secondary DNS: 1.1.1.1
After this you can go and play the game!
If you don't know how - just follow this over-the-top step-by-step guide.
1. Go into Network Settings in Settings.
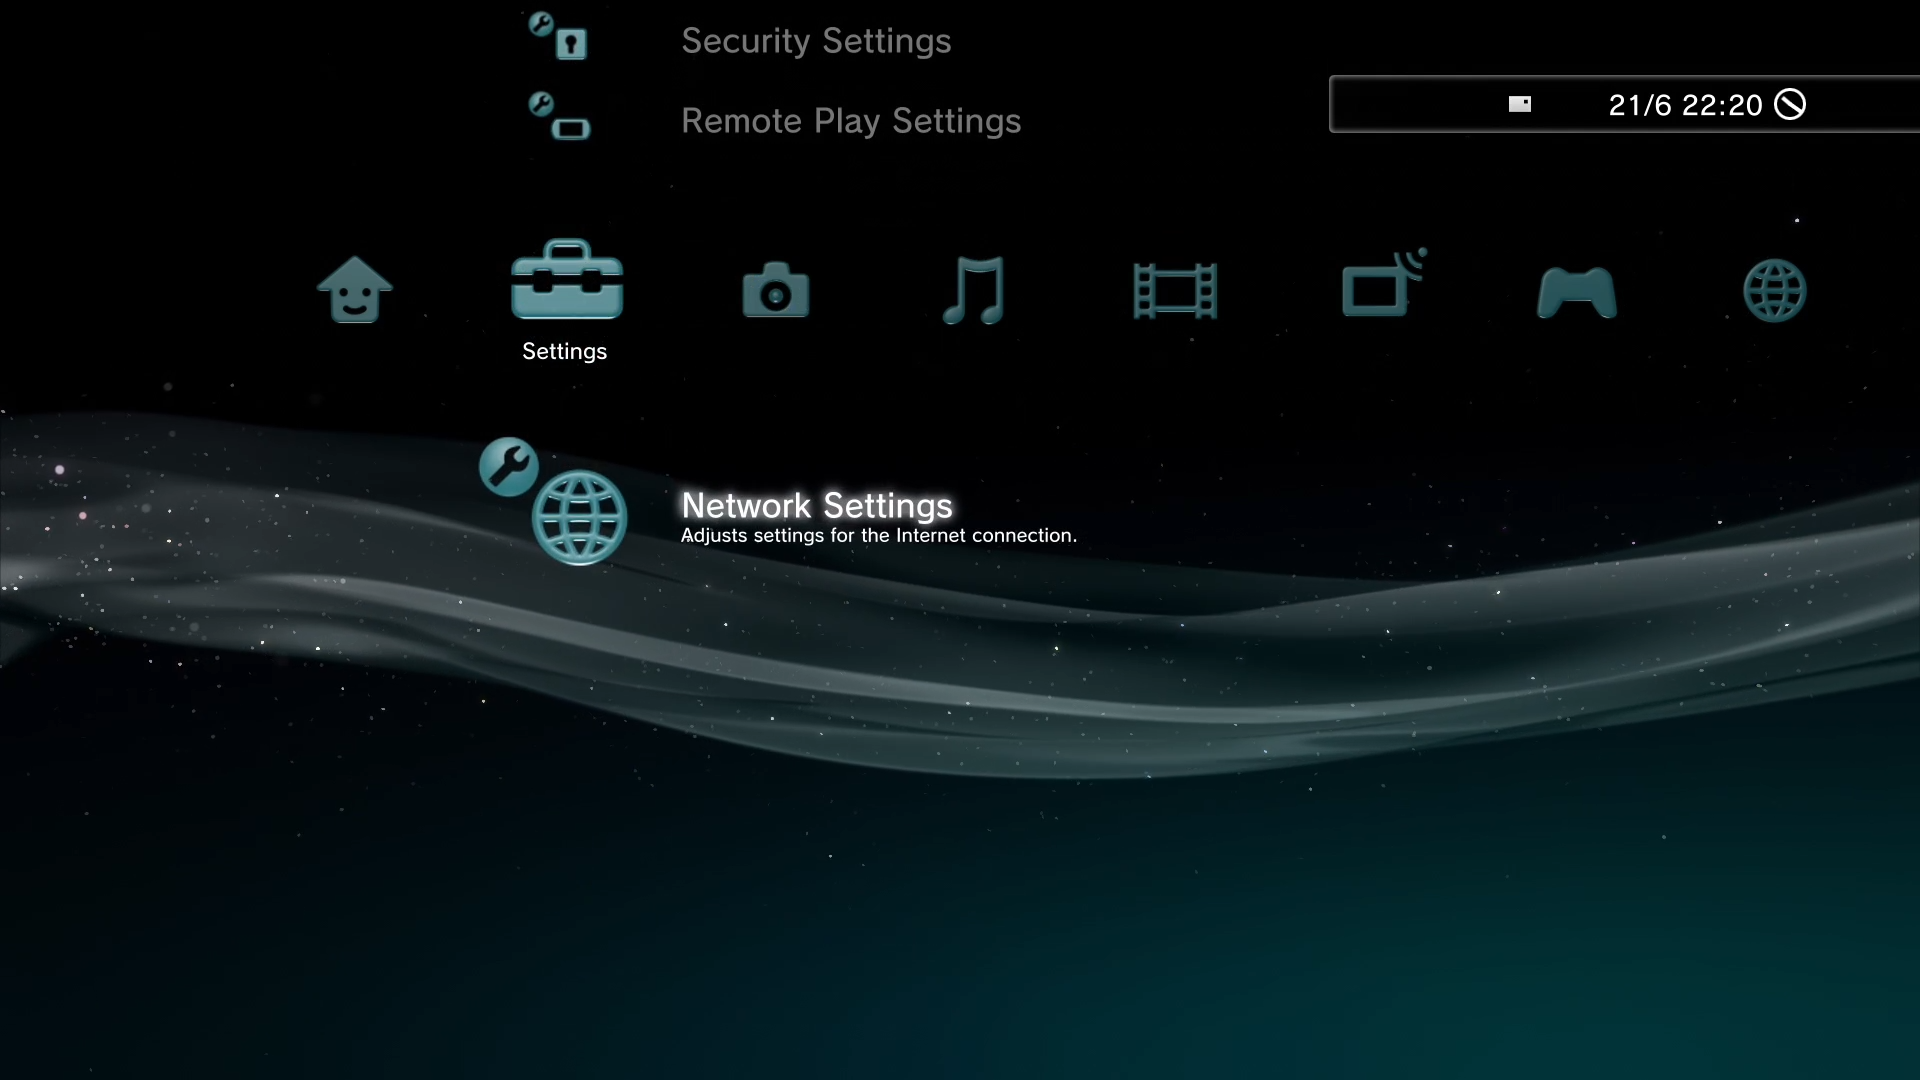
2. Select Internet Connection Settings and agree with the prompt.
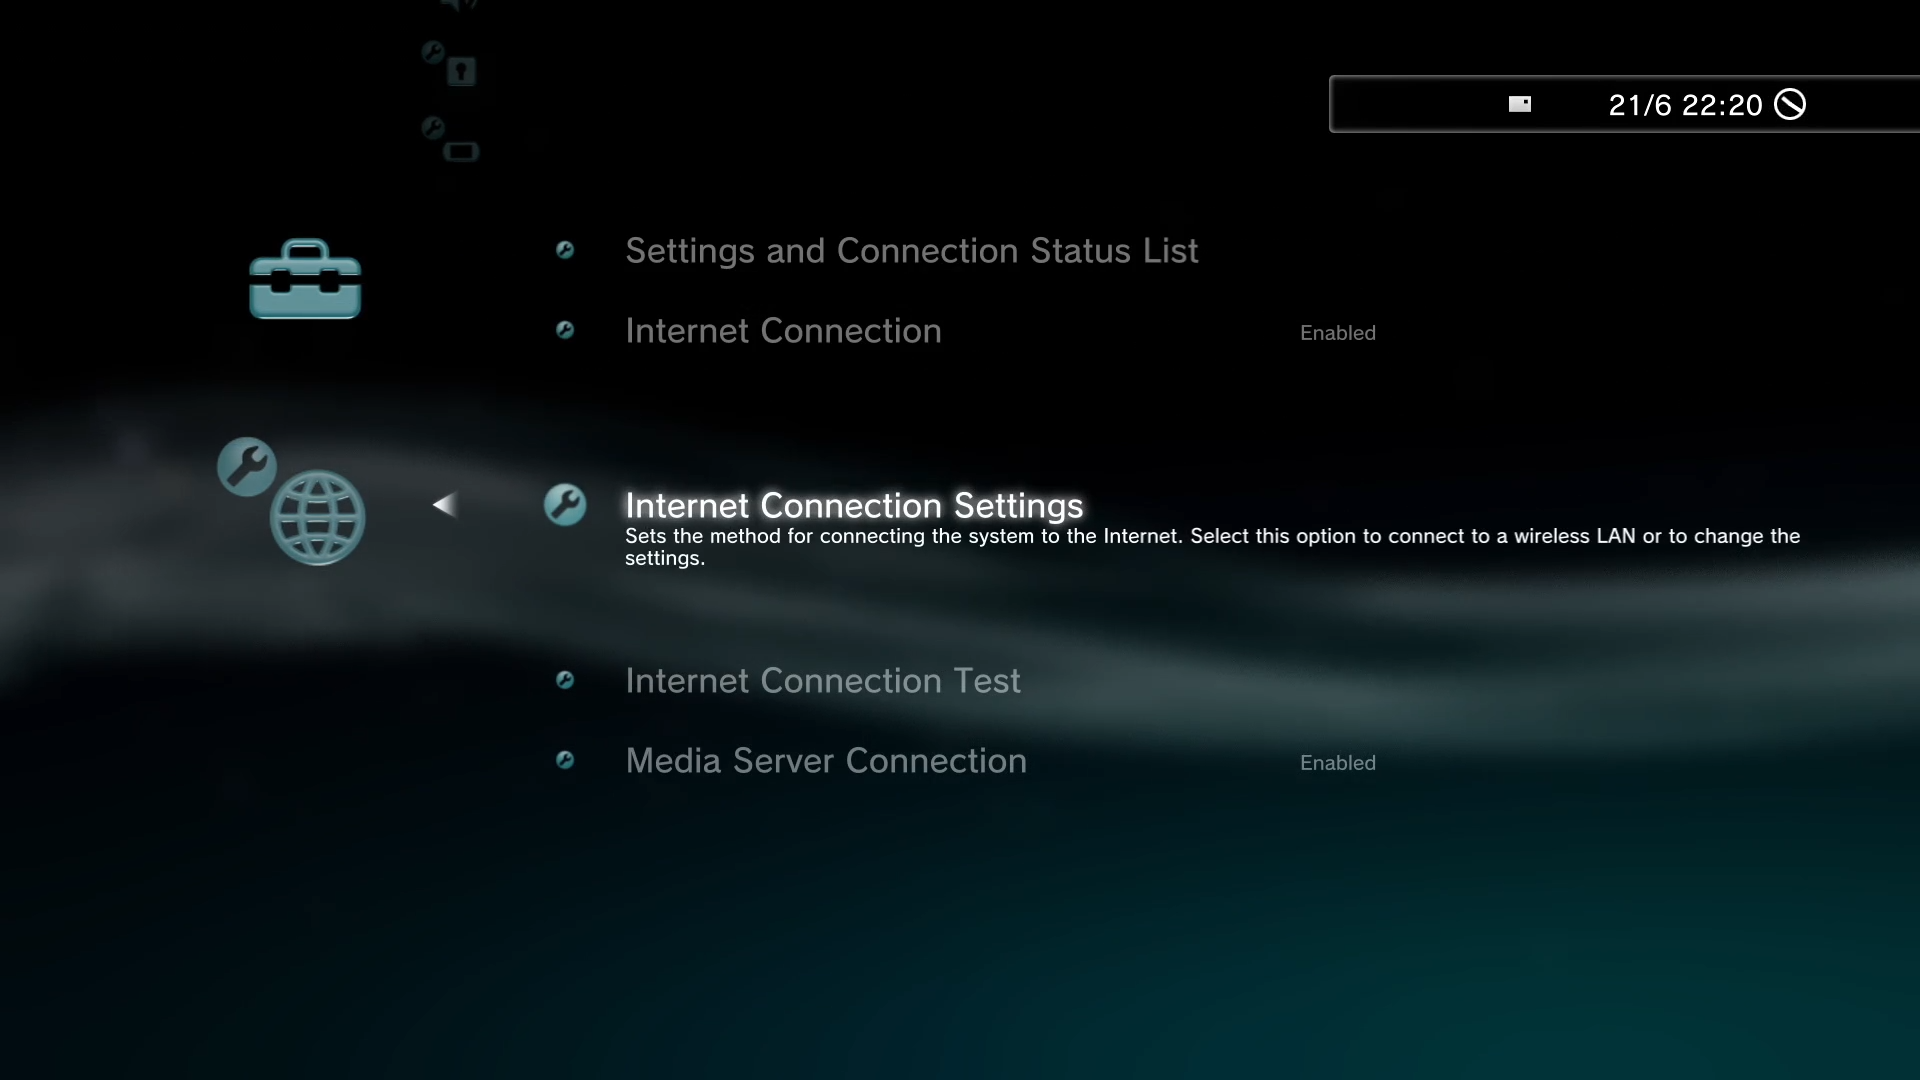
3. Select the first option in each section, until you get to DNS Settings, then select Manual.
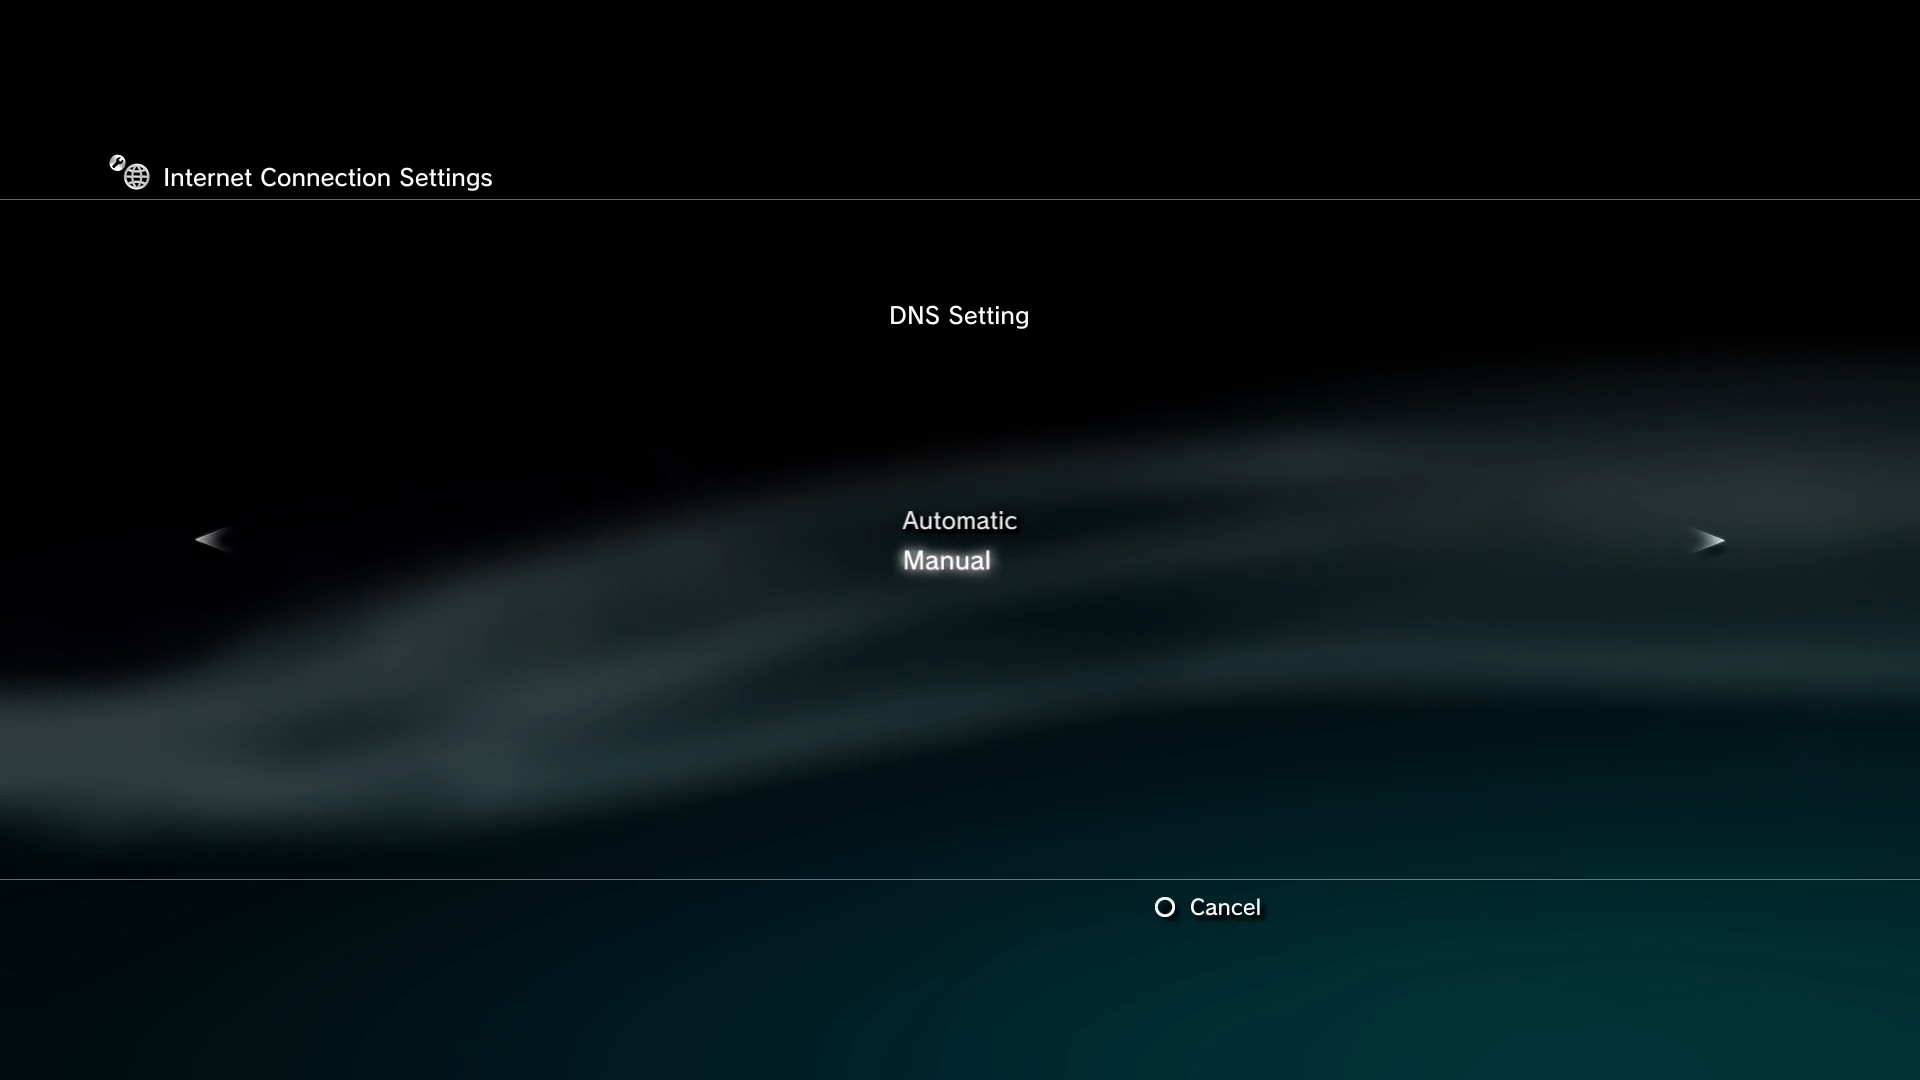
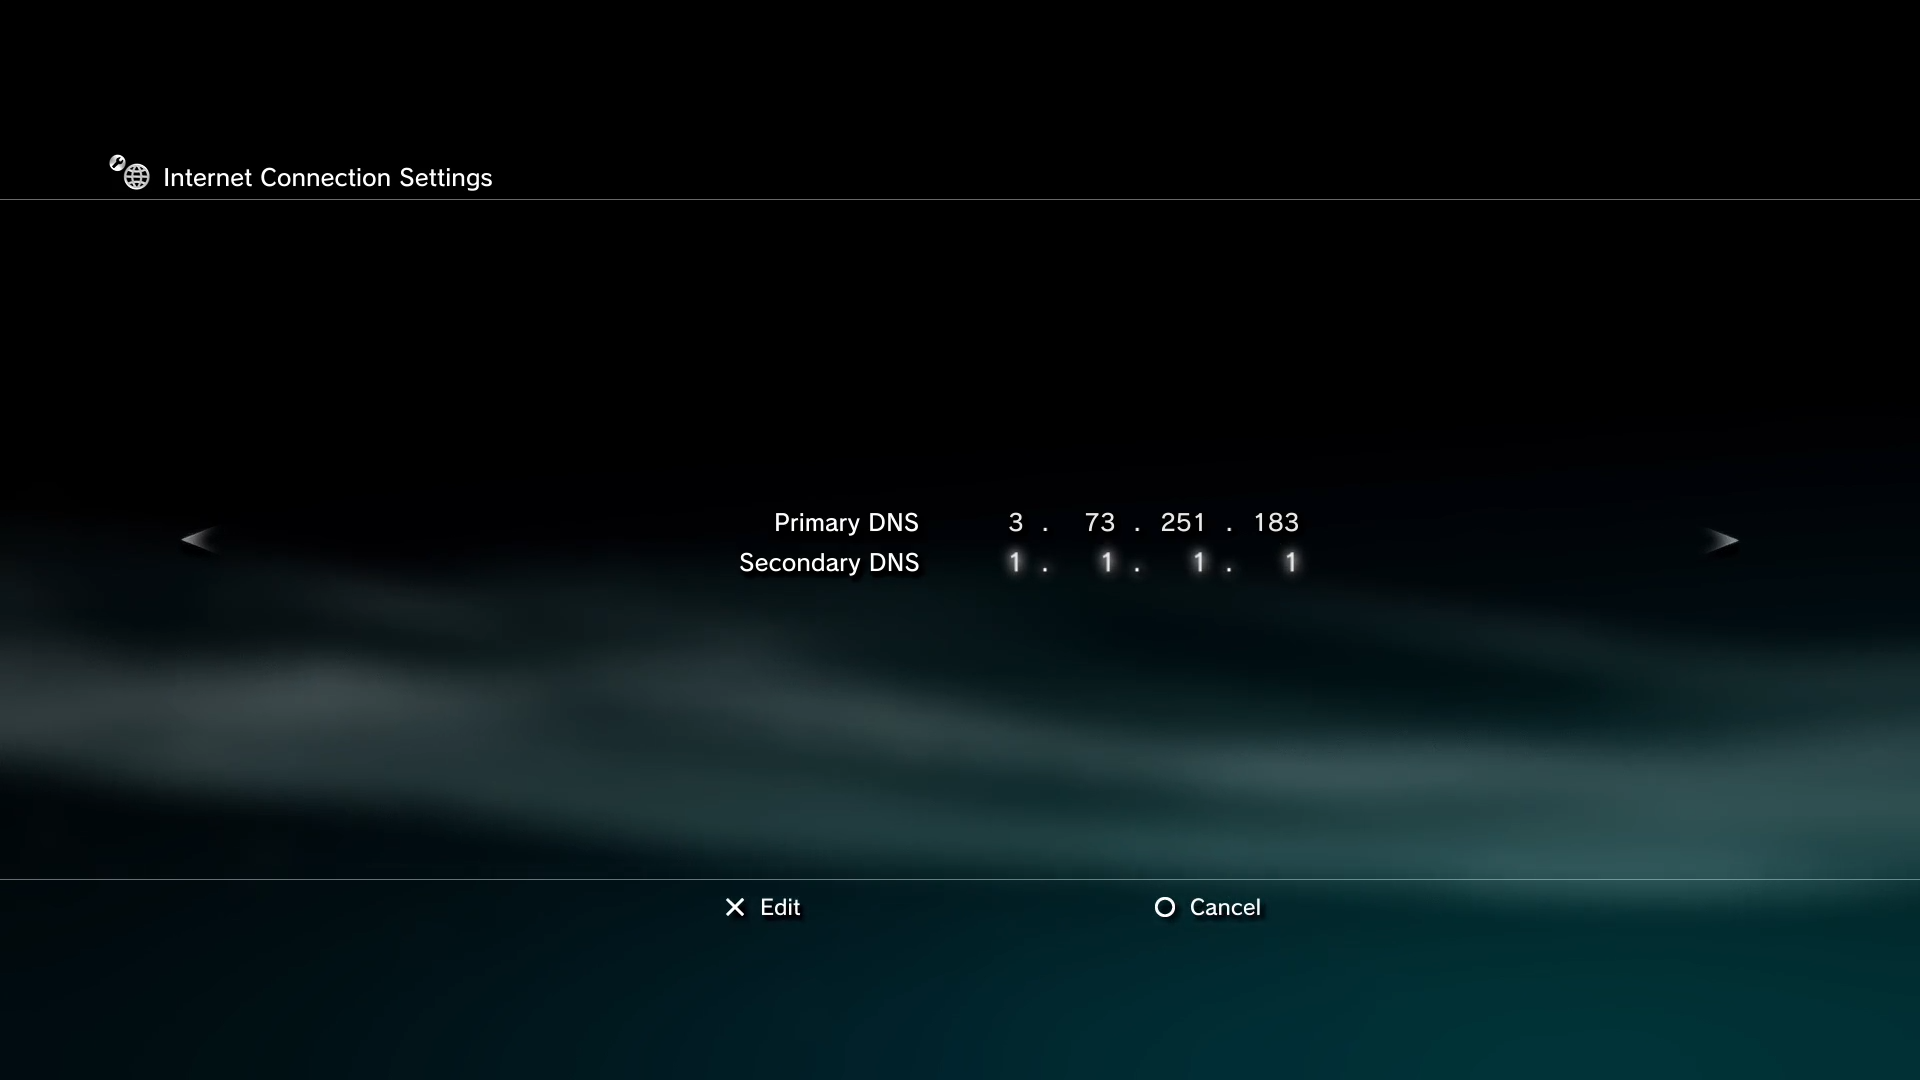
4. Enter the following settings:
Primary DNS: 209.38.53.69
Secondary DNS: 1.1.1.1
5. Finish the setup process and let your PS3 test everything. Congrats, you're done, and can play now!